n8n là một công cụ tự động hóa quy trình làm việc (workflow automation) mã nguồn mở, cho phép bạn tạo ra các quy trình tự động hóa mà không cần phải viết mã phức tạp (no-code). Bài viết này sẽ hướng dẫn bạn cách để cài đặt n8n trên Ubuntu 22.04.
Yêu cầu cấu hình #
Để n8n hoạt động ổn định vHost khuyến cáo cấu hình server tối thiểu:
- CPU: 2 core CPU
- Memory: 4GB tối thiểu
- Storage: tối thiểu 20GB cho hệ thống và dung lượng ổ cứng.
Các bước cài đặt n8n #
Bước 1: Cài đặt Docker #
Cài đặt package screen
apt-get install screen -y
wget https://vhost.vn/tmp/screenrc
mv screenrc .screenrc
Điều chỉnh timezone
timedatectl set-timezone Asia/Ho_Chi_MinhCập nhật hệ thống
apt-get update -yCài đặt các packages cần thiết
sudo apt-get install -y apt-transport-https ca-certificates curl software-properties-commonTiến hành thêm repository của docker
curl -fsSL https://download.docker.com/linux/ubuntu/gpg | sudo gpg --dearmor -o /usr/share/keyrings/docker-archive-keyring.gpg
echo "deb [arch=amd64 signed-by=/usr/share/keyrings/docker-archive-keyring.gpg] https://download.docker.com/linux/ubuntu $(lsb_release -cs) stable"
sudo tee /etc/apt/sources.list.d/docker.list > /dev/null
Sau khi thêm repository cần tiến hành update hệ thống
apt-get update -yCài đặt Docker
sudo apt-get install -y docker-ce docker-ce-cli containerd.ioSau khi đã cài đặt thành công docker chúng ta có thể kiểm tra bằng lệnh sau
docker --versionBước 2: Tạo volume lưu trữ data cho n8n #
Khi upgrade docker image ko bị mất data, chúng ta cần tạo volume lưu trữ data cho n8n
docker volume create n8n_dataBước 3: Cài đặt n8n #
Khởi tạo screen -a, sau đó chạy lệnh sau
docker run -d --name n8n -p 5678:5678 -v n8n_data:/home/node/.n8n -e N8N_HOST=domain.com -e WEBHOOK_URL=https://domain.com/ -e
GENERIC_TIMEZONE=Asia/Ho_Chi_Minh --restart unless-stopped docker.n8n.io/n8nio/n8n
Sau khi cài đặt n8n thành công, thoát khỏi screen để tiếp tục cài đặt nginx

Bước 4: Cài đặt nginx #
Cài đặt nginx
sudo apt update && sudo apt install nginx certbot python3-certbot-nginx -y
sudo systemctl enable nginx
sudo systemctl start nginx
Tạo file config /etc/nginx/sites-available/n8n với nội dung như sau
server {
    server_name domain.com;

    location / {
        proxy_pass http://localhost:5678;  # Forward requests to n8n
        proxy_set_header Host $host;
        proxy_set_header Upgrade $http_upgrade; # websocket support
        proxy_set_header Connection "Upgrade";  # websocket support
        proxy_set_header X-Real-IP $remote_addr;
        proxy_set_header X-Forwarded-For $proxy_add_x_forwarded_for;
        proxy_set_header X-Forwarded-Proto $scheme;
    }

    listen 80;
}
Sau đó link qua site hoạt động
sudo ln -s /etc/nginx/sites-available/n8n /etc/nginx/sites-enabled/Restart lại service
sudo systemctl restart nginxThực hiện cấp phát SSL cho domain bằng cách thực thi lệnh
sudo certbot --nginx -d domain.comTạo crontab để gia hạn SSL tự động
crontab -eThêm nội dung sau vào crontab
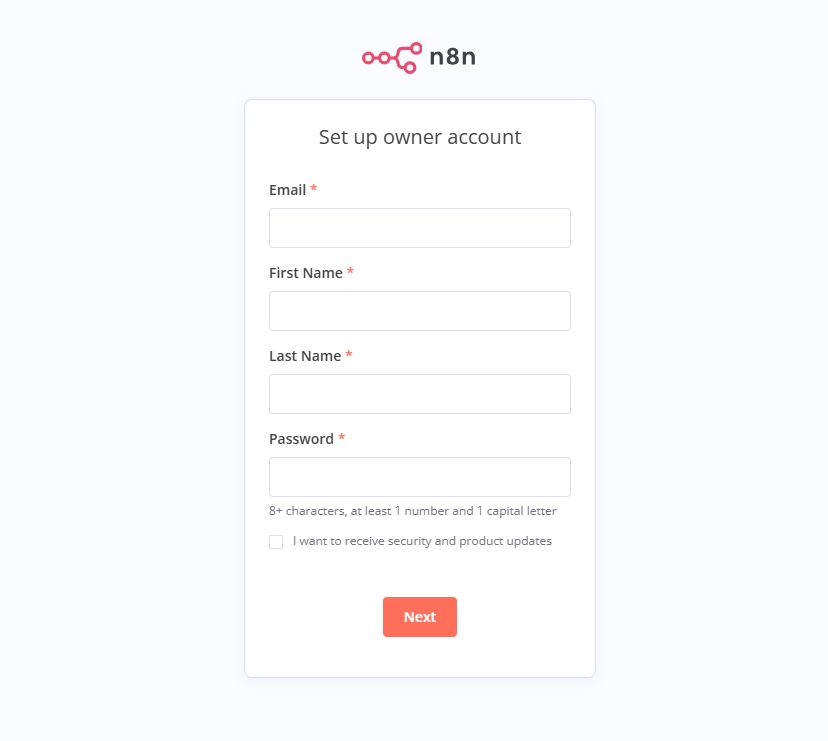
0 2 * * * certbot renew --quiet --post-hook "systemctl restart nginx"Sau khi cài đặt thành công, bạn có thể truy cập trang bằng https://domain.com và tạo account để sử dụng
Chúc bạn thành công.


