Trong nhiều trường hợp, quý khách sở hữu chứng chỉ SSL từ các nhà cung cấp như Sectigo, GoGetSSL,… và muốn cài đặt trực tiếp lên server mà không thông qua Certbot/Let’s Encrypt. Bài viết này hướng dẫn chi tiết cách cài SSL thủ công cho cả hai web server phổ biến nhất: Nginx và Apache.
1. Chuẩn bị các file cần thiết #
Yêu cầu cần có đầy đủ các file sau từ nhà cung cấp SSL:
- Certificate file (file .crt chính cấp cho domain)
- Intermediate certificate (CA trung gian, do nhà cung cấp SSL ký)
- Private key (file .key, được tạo cùng lúc với CSR khi đặt mua SSL)
- Root certificate (chứng chỉ gốc do các tổ chức CA uy tín tự ký)
2. Build file Chain Certificate #
Tùy vào website dùng Nginx hay Apache, cách nối file certificate sẽ khác nhau:
2.1. Đối với Nginx #
Nginx chỉ có một chỗ khai báo certificate (ssl_certificate), nên cần nối toàn bộ domain cert + intermediate + root thành 1 file duy nhất, gọi là fullchain.pem:
cat domain.crt <(echo) intermediate.crt <(echo) root.crt > fullchain.pem2.2. Đối với Apache #
Apache có hai chỗ khai báo riêng biệt: SSLCertificateFile (domain cert) và SSLCertificateChainFile (chain CA). Vì vậy domain cert giữ nguyên file gốc, không cần nối vào — chỉ cần nối intermediate + root thành file chain.pem:
cat intermediate.crt <(echo) root.crt > chain.pemGhi chú: Cú pháp <(echo) dùng để chèn một dòng trống giữa các file certificate. Điều này giúp tránh lỗi bad end line thường gặp khi một số file cert không có dấu xuống dòng ở cuối, gây dính liền nội dung 2 file khi ghép lại.
3. Xác minh chain hợp lệ #
openssl verify -CAfile chain.pem domain.crtKết quả đúng: domain.crt: OK
4. Cài đặt SSL cho Nginx #
4.1. Tạo thư mục chứa cert và copy file vào đúng vị trí:
mkdir -p /etc/nginx/ssl/yourdomain.com
cp fullchain.pem /etc/nginx/ssl/yourdomain.com/fullchain.pem
cp private.key /etc/nginx/ssl/yourdomain.com/privkey.pem
chmod 600 /etc/nginx/ssl/yourdomain.com/privkey.pem
4.2 Cấu hình server block:
Thường nằm ở /etc/nginx/sites-available/your_domain hoặc /etc/nginx/conf.d/your_domain.conf
server {
    listen 80;
    server_name yourdomain.com;
    return 301 https://$host$request_uri;
}

server {
    listen 443 ssl http2;
    server_name yourdomain.com;

    ssl_certificate     /etc/nginx/ssl/yourdomain.com/fullchain.pem;
    ssl_certificate_key /etc/nginx/ssl/yourdomain.com/privkey.pem;
    ssl_protocols TLSv1.2 TLSv1.3;
    ssl_ciphers HIGH:!aNULL:!MD5;

    root /var/www/yourdomain.com/public_html;
    index index.html;
}
4.3. Enable site và reload Nginx:
ln -s /etc/nginx/sites-available/yourdomain.com.conf /etc/nginx/sites-enabled/
nginx -t && systemctl restart nginx
5. Cài đặt SSL cho Apache #
5.1. Copy file cert, chain và key vào đúng vị trí:
mkdir -p /etc/apache2/ssl/yourdomain.com
cp domain.crt chain.pem private.key /etc/apache2/ssl/yourdomain.com/
chmod 600 /etc/apache2/ssl/yourdomain.com/private.key
5.2. Cấu hình VirtualHost:
<VirtualHost *:80>
    ServerName yourdomain.com
    Redirect permanent / https://yourdomain.com/
</VirtualHost>

<VirtualHost *:443>
    ServerName yourdomain.com
    DocumentRoot /var/www/yourdomain.com/public_html

    SSLEngine on
    SSLCertificateFile      /etc/apache2/ssl/yourdomain.com/domain.crt
    SSLCertificateKeyFile   /etc/apache2/ssl/yourdomain.com/private.key
    SSLCertificateChainFile /etc/apache2/ssl/yourdomain.com/chain.pem

    SSLProtocol -all +TLSv1.2 +TLSv1.3
    SSLCipherSuite HIGH:!aNULL:!MD5
</VirtualHost>
5.3. Enable site và restart Apache:
# Debian/Ubuntu
a2ensite yourdomain.com.conf
apachectl configtest && systemctl restart apache2
# RHEL/AlmaLinux
apachectl configtest && systemctl restart httpd6. Kiểm tra kết quả #
curl -vI https://yourdomain.comNếu thấy dòng SSL certificate verify ok và response HTTP/1.1 200 OK, quá trình cài đặt đã thành công.
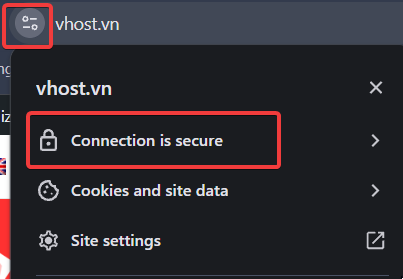
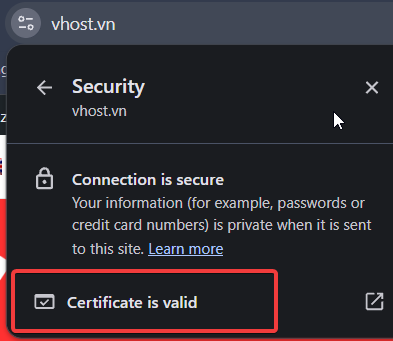
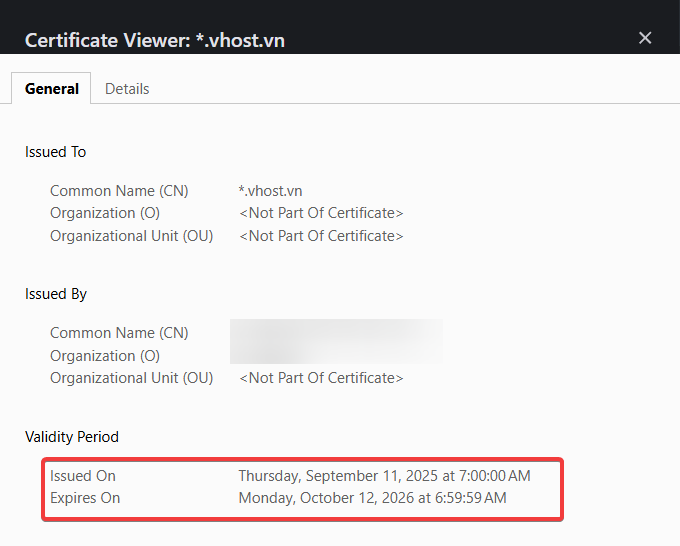
Hoặc kiểm tra trực tiếp trên website: